Application Sectional Matrices


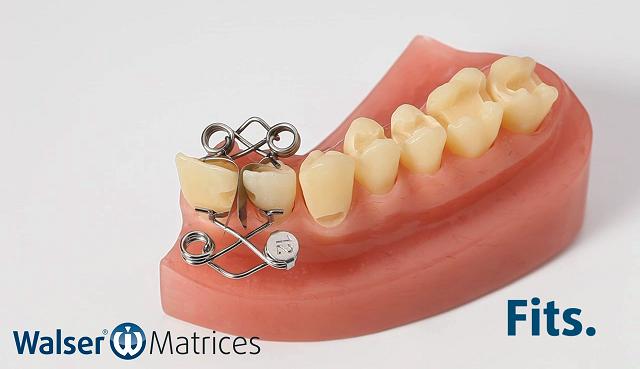
O-Shape

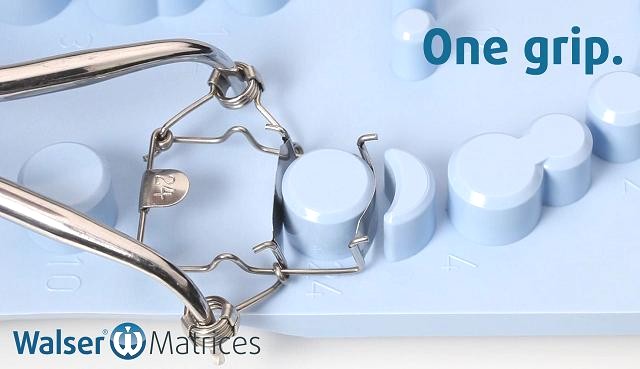
The tooth matrix is tensioned and removed from the tray                                            


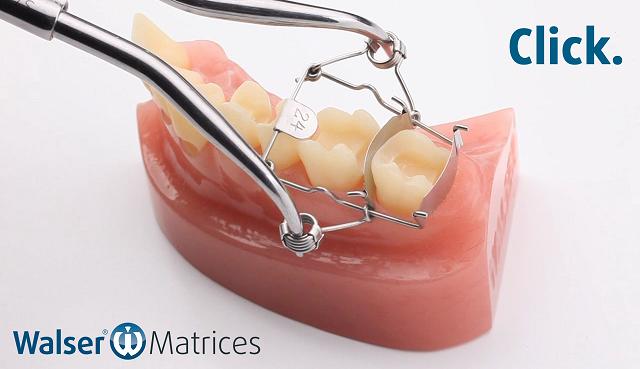
The selected WALSER® Matrix must be pointing in an occlusal direction, and it is from this side that the forceps are applied. Spread out the WALSER Matrix Forceps to the point where the first notches on the tip of the forceps engage in the recesses of the matrix springs.

Using the matrix forceps, tighten the tooth matrix and push it over the tooth  


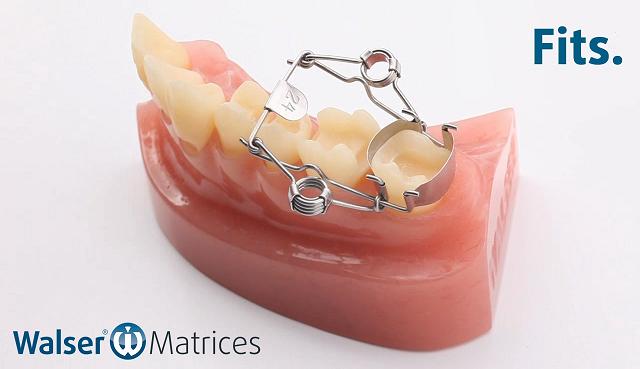
Slip the matrix over the tooth and insert in the interdental spaces. Relax the forceps when the papilla is reached. The strips will then wrap around the neck of the tooth. Then shift the matrix accordingly in an occlusal direction.


Insert the O-shape tooth matrix, which is automatically applied to the tooth with a hand movement  


Once the tooth filling has been placed then retension the matrix to maximum point. This is important so as not to damage the well contoured filling.

Before removing the matrix it should be moved by a gentle rocking motion around the sagittal axis, as this will release the strips more easily from the filling material.


X-Shape 

   
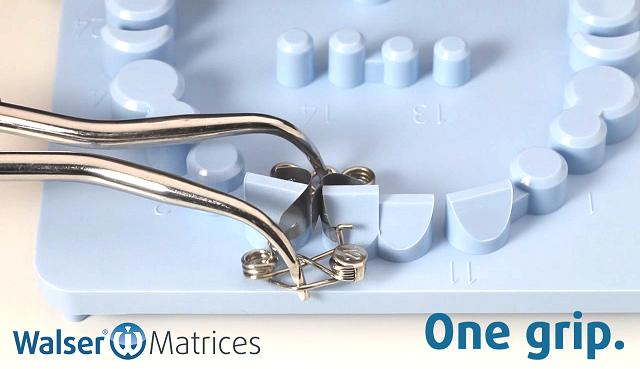
The tooth matrix x-shape is tensioned and removed from the tray  


The selected WALSER® Matrix must be pointing in an occlusal direction, and it is from this side that the forceps are applied. Spread out the WALSER Matrix Forceps to the point where the first notches on the tip of the forceps engage in the recesses of the matrix springs.

Place two fillings simultaneously and quickly  


Insert the matrix between the interdental space. Relax the forceps when the papilla is reached. The strips will then wrap around the neck of the tooth. Then shift the matrix accordingly in an occlusal direction.


Insert the x-shape tooth matrix, which is automatically applied to the tooth with a hand movement  


Once the tooth filling has been placed then retension the matrix to maximum point. This is important so as not to damage the well contoured filling.

Before removing the matrix it should be moved by a gentle rocking motion around the sagittal axis, as this will release the strips more easily from the filling material.


ON-Shape


The tooth matrix on-shape is tensioned and removed from the tray                                            

The selected WALSER® Matrix must be pointing in an occlusal direction, and it is from this side that the forceps are applied. Spread out the WALSER Matrix Forceps to the point where the first notches on the tip of the forceps engage in the recesses of the matrix springs.

Using the matrix forceps, tighten the tooth matrix on-shape and push it over the tooth  

Slip the matrix over the tooth and insert in the interdental spaces. Relax the forceps when the papilla is reached. The strips will then wrap around the neck of the tooth. Then shift the matrix accordingly in an occlusal direction.

It fits disto-cervical automatically, comfortably placed in seconds with one hand movement, prevents over-stuffing and saves you from the grinding away of surplus.

Insert the on-shape tooth matrix, which is automatically applied to the tooth with a hand movement  

Once the tooth filling has been placed then retension the matrix to maximum point. This is important so as not to damage the well contoured filling.

Before removing the matrix it should be moved by a gentle rocking motion around the sagittal axis, as this will release the strips more easily from the filling material.


XF-Shape

   
The tooth matrix xf-shape is tensioned and removed from the tray  

The selected WALSER® Matrix must be pointing in an occlusal direction, and it is from this side that the forceps are applied. Spread out the WALSER Matrix Forceps to the point where the first notches on the tip of the forceps engage in the recesses of the matrix springs.

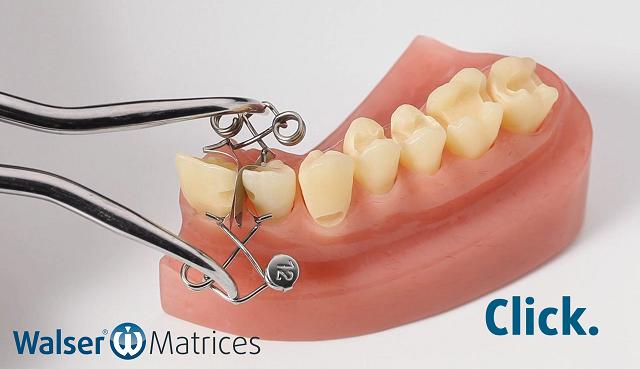
Using the matrix forceps, tighten the tooth matrix xf-shape and push it over the tooth  

The cavity must be filled to the point of overflow. Insert the tensioned matrix an release. The spring on which the number is apllied should be positioned labially.  

Insert the xf-shape tooth matrix, which is automatically applied to the tooth with a hand movement  

Once the tooth filling has been placed then retension the matrix to maximum point, pull in a labial direction and angle downward slightly. Then pull in a palatinal direction and angle down. Repeat the procedure if necessary. There is no cervical excess after the WALSER® front matrix has been removed, and the thin thread from pressing can be easily removed.        

Order tooth matrices by clicking on the order button

This website uses cookies to provide you with the best possible service.  More info